
Building a Video Recording App with AWS S3 and a Raspberry Pi
APP DESIGN
As a personal project, I decided to attach a camera to a Raspberry Pi , upload the pictures to Amazon s3, and then build a website to loop through the pictures.

After reading this blog, you should have a clear picture on how to build a basic IoT project. I will do my best to provide the resources and step-by-step instructions on how to do it yourself, from setting up a Pi to accessing images in S3 buckets.
The total budget was about $100. Mostly on the web camera, the Pi, case, and SD memory card.
BAKING THE PIE
By “bake”, I mean install an operating system and work envirnoment. The pi can be used with many operating systems through SD Cards. The most common one is Raspbian. Make sure to format the SD card so it’s clean and ready. I used SDFormatter with my mac.
To Install:
Download the latest version. If you have a mac, use the following steps to get started, otherwise look through here.
To Use:
The easiest way to use your new computer is with an HD monitor, mouse and keyboard. You will need this at the beginning. Ideally, you want a way to connect to your pi using your personal computer. That’s where VNC Viewer comes in. Download it to your personal computer and you’ll be ready to connect to the pi. The key point is setting up the pi to broadcast the remote server.
Open up the terminal in the Raspberry Pi and run
sudo apt-get update
Then you are ready to install Tight VNC. You will use this for remote access. Here you can find detailed instructions on how to set it up. Basically, it will run a TightVNC Server whenever you boot the pi.
To Connect:
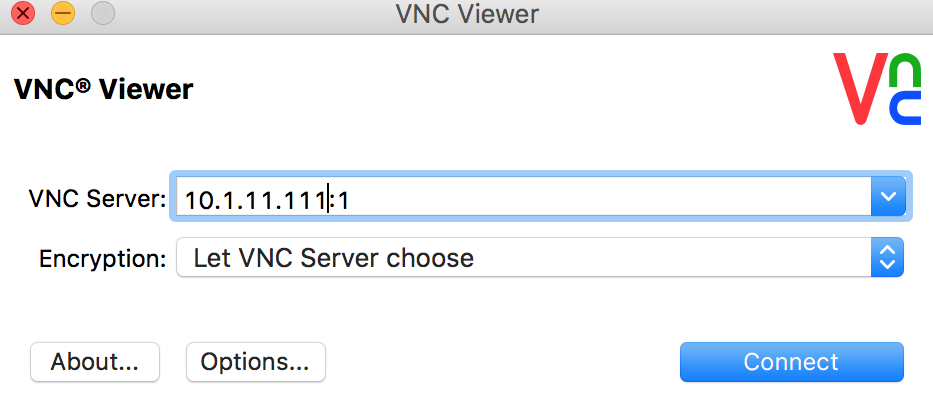
You can use an ethernet cable but I prefer Wifi. After you hook up the raspberry pi with Wifi and TightVNC is running, find the IP Adress. Enter that IP as the VNC Server
Extra Tip:
You can set up Wifi through the command line. It’s a convinient way to add known networks in advance. That way, in a new location, the pi should connect to the Wifi automatically and broadcast the server.
With NMap you can find the the pi IP Address and connect to it. For a mac,
brew install nmap
Then, run nmap with your personal computer’s IP address but replace the last set of numbers with zero and add /24
nmap -sn [IP Address]/24
e.g. for 192.168.1.3
nmap -sn 192.168.1.0/24
It will scan the whole subnet for devices. In that list, you can find your pi.
PICTURE SCRIPTS
Congratulations on setting up the Raspberry Pi! The next part is taking pictures.
I used a usb webcam and fswebcam to do that. Follow these easy instructions to get started. The blog shows how to install fswebcam, take pictures, and have it on a timer to do it automatically.
The cron job is key for defining the number of pictures to take and how often. Obviosly, the more images the better the recording but there’s a limit in memory. That’s where AWS S3 comes in.
AWS S3 BUCKET
I recommend Amazon S3 because it’s free and easy to store images. Go to AWS and create an account. Then, under your security credentials, create an Access Key ID and Secret Access Key. You will use this to upload images.
s3cmd is a tool to easly upload images to s3
sudo apt-get install s3cmd
Here are the usage docs. You will want to then configure it with your Access Key and Secret
s3cmd --configure
Follow the prompts.
Then create a bucket to contain your images
s3cmd mb s3://BUCKET
Edit the fswebcam script to upload the image and then delete it from the Raspberry Pi
s3cmd put FILE [FILE...] s3://BUCKET[/PREFIX]
rm FILE
If this works correctly, you should be able to see the images in your AWS Console and permanetly remove from your pi memory storage.
STREAMING APP
The app was my touch to easily display a timelapse of the images taken. You can find the code here. It was written in Go using the AWS Go SDK. The app gets the images from Amazon, sends them to the client, and JavaScript displays them every second.
This is where a lot of liberty can come in for the execution. For example, you can have an app with a button that will run the script and display the current image. That’s basically an instant home monitoring app. Have fun :)